what are you looking for?
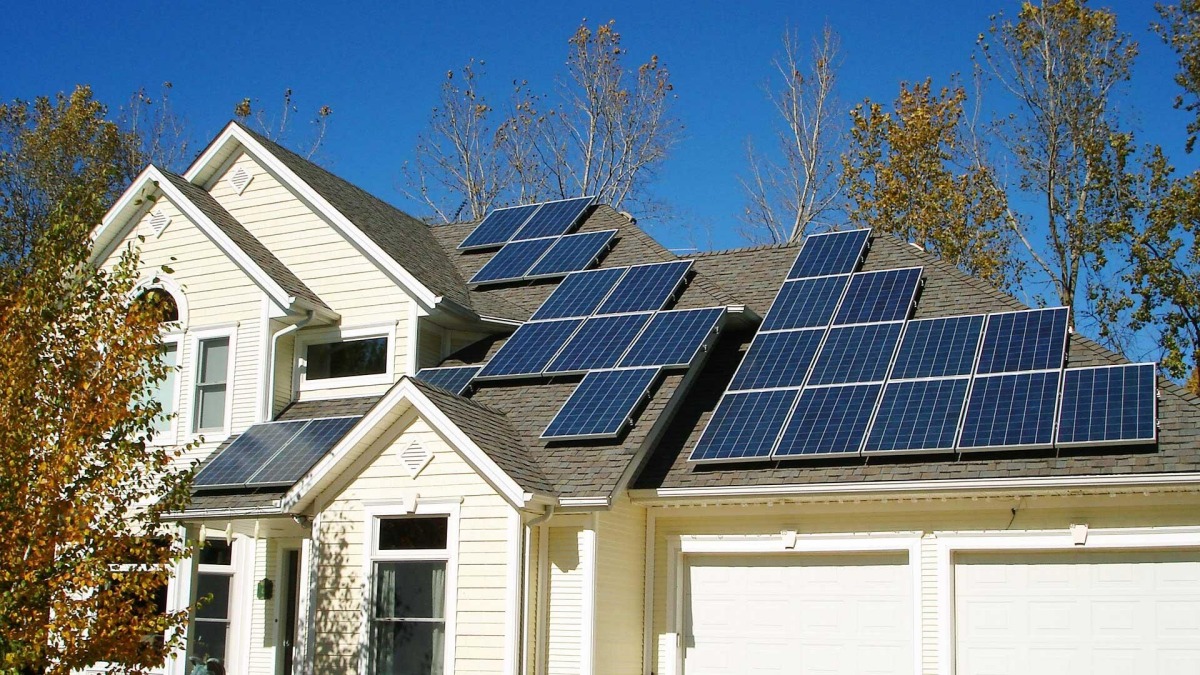
If you're working in construction or simply want to learn how to install solar panels on your roof by yourself, you'll be happy to know that it’s not as complicated as it sounds. However, you do need the right tools, some basic electrical knowledge, and strict attention to safety procedures.
In this guide, we walk you through the 9 essential steps for DIY solar panel installation on a shingle roof, making it easier to harness the power of the sun from your own home.
Pro Tip: We recommend using Solar Tile Roof Brackets from Topfence — known for superior quality and smart design.
Preparation is key. Having all the tools and components at hand before heading up to the roof will save you time and ensure a smoother installation process.
Solar panels
Stanchions
PV wire
Mounting brackets
Drill and drill bits
Mounting rails
Tape measure
Chalk line
Screws
Ladder
Lag bolts
Tool belt
Components from your solar kit
Using your chalk line, mark where each stanchion (mounting base) will go on the roof. These metal components are critical — they distribute the weight of the panels evenly across the rafters.
Tip: Refer to your home’s blueprint to locate the rafters. Align stanchions carefully and place them approximately 4 feet apart.
Now it’s time to install the stanchions:
Pre-drill holes into the rafters.
Secure each stanchion with steel bolts.
Ensure even spacing — ideally one stanchion every 4 feet.
These will act as the foundation for your rails and panels, so double-check their alignment.
Flashing prevents water from seeping into your home:
Slide flashing beneath shingles.
Secure it with bolts directly into the rafters.
Use sealants provided with your solar kit for added protection.
This step ensures your roof stays waterproof even after drilling.
The rails connect directly to the stanchions and support the solar panels.
Attach the top and bottom rails using bolts and an impact driver.
Tighten all connections securely to avoid movement.
Make sure the rails are sturdy and level before proceeding.
To ensure your solar panels sit correctly:
Use a tape measure to check the diagonal distances between the corners of the rails.
If both diagonals are equal, the rails are square.
If not, you may need to realign or re-drill.
This ensures the panels mount evenly and look professional.
This step marks the start of the electrical work, so caution is essential.
Attach a micro-inverter beneath each panel.
Use 6-gauge copper wire for all connections.
Route the wires from the panel arrays to the electric meter, then to a sub-panel.
Run wiring through the rails (if designed for wire management).
Always turn off the power supply before starting electrical work.
Planning Tip: Use a diagram to pre-map wiring routes and panel layout.
Once the wiring is complete:
Hook the mounting brackets to the solar panels on the ground.
Lift the panels onto the roof and align them with the rails.
Use bolts and clamps to fasten panels securely.
Connect the panel wiring to the micro-inverters.
Double-check all connections before finalizing the setup.
This final step brings your system online:
Shut off the main power in your home.
Connect the system’s inverter to your main electric panel.
If installed outdoors, keep the inverter shaded and protected.
If using a battery storage system, connect it now to the fuse board or consumer unit.
Important: Many local building codes require a licensed electrician to perform this final connection. Always check your local regulations.
With the right tools, careful planning, and attention to detail, installing solar panels on a shingle roof yourself is absolutely possible. This DIY approach can save you money while helping the environment by reducing your carbon footprint.
If you want a smoother and more durable installation, consider using Topfence’s Solar Tile Roof Brackets — designed specifically for shingle and tile roofs, offering better performance and a longer lifespan.
Need help getting started or selecting the right components?
Leave a comment or contact us directly — we’re here to help you power your home with solar energy!

 Xiamen TopFence Co.,Ltd.


 No. 77, LingXia South Road, Huli District, Xiamen City, Fujian, China
 Tel: +8613365923720
 Email: info@xmtopfence.com
 IPv6 network supported Sitemap
| XML
| Blog
| Privacy Policy
IPv6 network supported Sitemap
| XML
| Blog
| Privacy Policy